Why I chose Docker for My Blog Server Stack? - Docker and Docker Compose for Absolute Beginner
When I decided to deploy my blog server stack, I knew I wanted a solution that was both easy and fast. After considering my options, I opted to use Docker, and more specifically Docker Compose, for the task. The beauty of Docker lies in its ability to isolate applications in containers, making deployment and management incredibly efficient.
What is Docker?
At its core, Docker is a containerization tool that packages your applications and their dependencies into isolated units called containers. These containers can run anywhere—on your machine, server, or cloud—without worrying about conflicting software or missing dependencies. Think of it like a self-contained package that includes everything your app needs to run.
What is Docker Compose?
While Docker itself is great for managing individual containers, Docker Compose allows you to manage multiple containers as part of a single application. This is essential when building more complex applications, like a 3-tier web server stack consisting of a reverse proxy, web server, and database. With Docker Compose, you can define all your services, their relationships, and configurations in one YAML file, making deployment as simple as running a single command.
For more knowledge based about docker, visit their website over here!
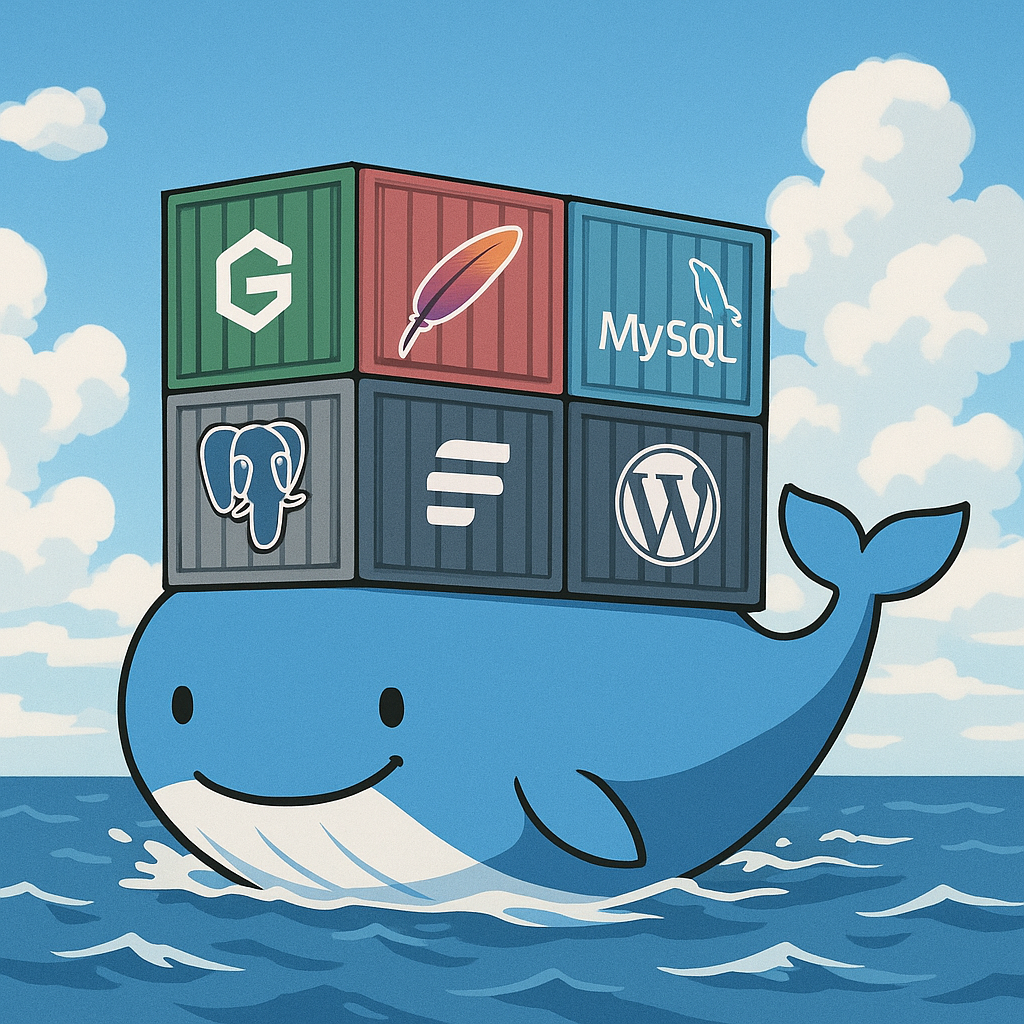
Analogy: Containers on a Ship
Ever seen a ship with many containers stacked on it? That's essentially where the term "container" comes from.
- The ship represents your machine, server, or PC, which operates normally and runs the OS and hardware.
- Docker containers are like those boxes that get loaded onto the ship. These containers hold everything an application needs to run—such as libraries, environment settings, and other dependencies—keeping it isolated from the rest of the system.
This isolation allows you to manage apps more easily, avoiding the common pitfalls of conflicts between different versions of software or dependencies.
Docker vs Traditional Installation
In a traditional setup, you might install web servers (like Apache or Nginx), databases (MySQL or PostgreSQL), and other applications directly onto your system. This often involves manually adjusting configurations, installing dependencies, managing updates, and maintaining them one by one.
With Docker, everything is packaged into containers. Instead of installing and configuring each application individually, you define everything in a simple YAML file using Docker Compose.
Docker Compose
One of the best tools in the Docker ecosystem is Docker Compose, which allows you to define multi-container applications using a single YAML file. Here’s how it works:
- Images and Registries: Docker has a registry (Docker Hub) where you can find pre-built images of popular applications, like Nginx, Ghost, MySQL, etc.
- YAML Definition: In your
docker-compose.yml, you define the apps (services) you want to use, their relationships (e.g., which service talks to which), what ports to expose, environment variables, and volumes for persistent storage. - Deploying: Once the YAML file is ready, you run
docker compose up -d. This will pull the necessary images from the Docker registry, configure the services as described, and bring up the entire stack—often a multi-tier web server stack—on your system.
For example, with a 3-tier web server stack (Nginx as the reverse proxy, Ghost as the blog platform, and MySQL for the database), your docker-compose.yml would look something like this:
services:
  nginx:
    container_name: nginx01
    image: nginx:latest
    restart: unless-stopped
    ports:
      - "80:80"
    networks:
      - frontend
      - backend
    depends_on:
      - ghost

  ghost:
    container_name: ghost01
    image: ghost:latest
    restart: unless-stopped
    environment:
      database__client: mysql
      database__connection__host: db
      database__connection__database: ghost
    volumes:
      - ghost_data:/var/lib/ghost/content/
    depends_on:
      - db
    networks:
      frontend:
        aliases:
          - ghost.local
      backend:

  db:
    container_name: mysql01
    image: mysql:8.0
    restart: unless-stopped
    environment:
      MYSQL_ROOT_PASSWORD: ${ROOT_PASSWORD}
      MYSQL_DATABASE: ghost
      MYSQL_USER: ghost-user
      MYSQL_PASSWORD: ${USER_PASSWORD}
    networks:
      - backend
In fact, this is how my blog server stack looks like (well, 99 percent).
How Docker Compose Works: A Simple Analogy
Imagine a huge crane on the dock of the ship (your machine), loading containers (services) like Nginx, Ghost, and MySQL onto the ship (your machine). Once these containers are on board, they are interconnected, just as they are defined in your Docker Compose file. Once this process is complete, you have a fully functional application ready to go!
Conclusion
This is the basic workflow of Docker and Docker Compose. Of course, there are more details, like configuring storage volumes, networking between containers, and handling environment variables.
However, this gives you the general idea of how you can easily deploy multi-container applications using a YAML file, and with just one simple command, you’re up and running!
In future posts, I'll dive deeper into specific configurations and details, such as setting up Ghost using Docker Compose and advanced networking options.
But until then, see you in next post! Have a nice day!