Building a DIY NAS using old PC

How it all started
I upgraded, or should I say replaced, my old gaming PC with a new one.
After that, I was thinking about how to deal with my old PC.
I was going to sell it to my friend, but at the end they ends up not buying it. lol
After that, when I was tinkering with my google drive, an idea came to mind: why not build a NAS out of that PC so that I can unsubscribe from some of the cloud storage services?
And the journey began.
How I do it
Planning
I started from researching what do I need to build a NAS.
PC Case
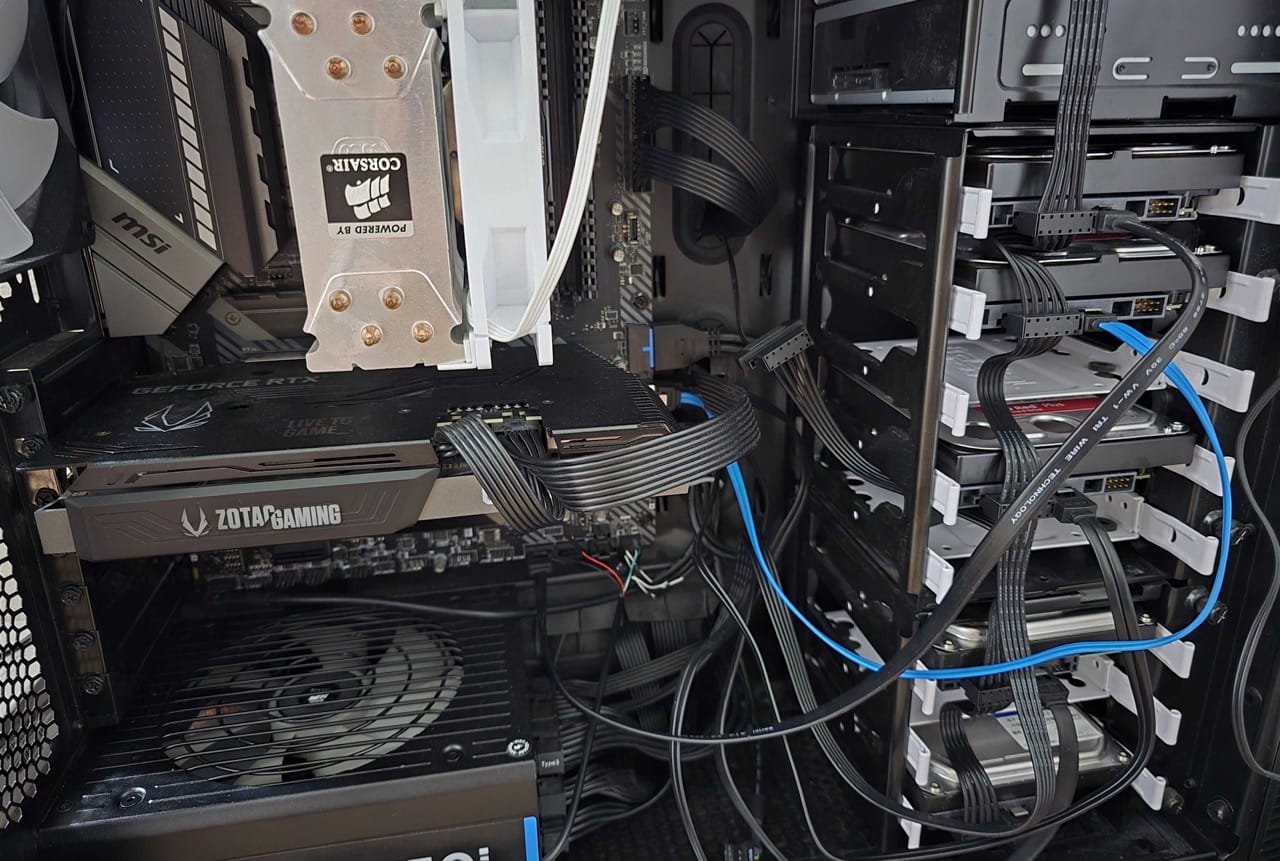
I need HDD storages, obviously, but my old gaming rig does not have many storage spaces for my HDDs. So I bought a second hand Fractal define R5 to move all my parts into it. R5 is a perfect case for NAS. It has 8 HDD bases, and sponges on the side and top of the case, I think those are for damping the sound the fans and drives produce.
Install OS
After replacing all my parts to the new case, I installed Ubuntu to my PC.
First download it into a USB drive, and choose the USB drive for booting in the BIOS.
After that, it is quite an easy process as just choosing some options and wait for it to install.
Initial setup
After the installation, I first install ssh on it so that I can connect it from my other PC and laptop.
sudo apt update
sudo apt install openssh-server
sudo systemctl enable ssh
sudo systemctl start ssh
After that, when still using the PC with direct access through mouse and keyboard, look for its private ip and mac address so that they can be use later for remote access and VPN settings.
On my home router, I assigned a static private IP to my NAS so that it will not be assigned some random ip from the router that is using DHCP, and I can always use the particular IP to remote access my PC.
ip link show
# look for the ether field that has the MAC address (something like aa:bb:cc:dd:ee:ff)
Use that Mac address to assign a ip for it on the router setting page.
By using the ssh command from other devices, I can connect it from anywhere as long as I am using my home wifi, or in more technical term, in the same network.
ssh username@private_ipThat way, I can just put it away somewhere around the corner with a power chord and ethernet cable and don't need to worry about the i/o anymore.
Install storages
I have a few HDDs connected to my PC.
I want to use them to store my datas and files, and I need redundancies.
So, I installed Btrfs to config RAID
sudo apt install -y btrfs-progsThen setup RAID1 for 2 of my older HDDs, for my development and testing environment.
sudo mkfs.btrfs -m raid1 -d raid1 /dev/sda /dev/sdb
# -m for metadata, -d for data
Create a directory, and mount it to the filesystem.
sudo mkdir /mnt/nas
sudo mount /dev/sda /mnt/nas
# Verify the setup
sudo btrfs filesystem show
Get UUID of the filesystem and setup auto-mount on boot
blkid | grep btrfs # look for the UUID for /dev/sda
sudo nano /etc/fstab
# add the line below to fstab file then save it
UUID=<the-uuid> /mnt/nas btrfs defaults,nofail 0 0
Connect to the Storage system from other devices
Now here comes the fun part!
I want to be able to access the filesystem I just created. (Otherwise why even do it lol)
To create a network storage, I use Samba for its simplicity and availability for Windows and MacOS.
apt install samba -yAfter installing, edit the config file at /etc/samba/smb.conf.
Somthing like below
[NAS]
   path = /mnt/nas # the storage created earlier
   browseable = yes
   read only = no
   guest ok = no
   create mask = 0777
   directory mask = 0777
   valid users = <the user to access this storage>
Create the user stated in valid users
sudo adduser <the user to access this storage>
smbpasswd -a <the user to access this storage> # set new password for the user to use Samba
systemctl restart smbd
systemctl enable smbd
After all these steps, finally going to the other PC, like Windows PC, open the file explorer, in the URL text box, insert \\<private-ip>\nas.
A prompt will come up, insert the username and password created to use Samba and I am now officially using a NAS remotely!!! 🔥
Common error
If Samba was installed using sudo privilege, user may not be able to access to the filesystem.
Just simply change the ownership of the filesystem and the problem will be resolved.
sudo chown -R <the user to access this storage>:<the user to access this storage> /mnt/nas
sudo chmod -R 775 /mnt/nas
sudo systemctl restart smbd
After thoughts
This is the very first time I tried some DIY projects apart from building PC.
I am looking forward to try on more projects in the future! They are so much fun!!!
But until then, see you in the next post!
Have a nice day!